> For the complete documentation index, see [llms.txt](https://windows.help.formit.autodesk.com/llms.txt). Markdown versions of documentation pages are available by appending `.md` to page URLs; this page is available as [Markdown](https://windows.help.formit.autodesk.com/ko/tool-library/cover-sweep-loft.md).
# 피복, 스윕, 로프트
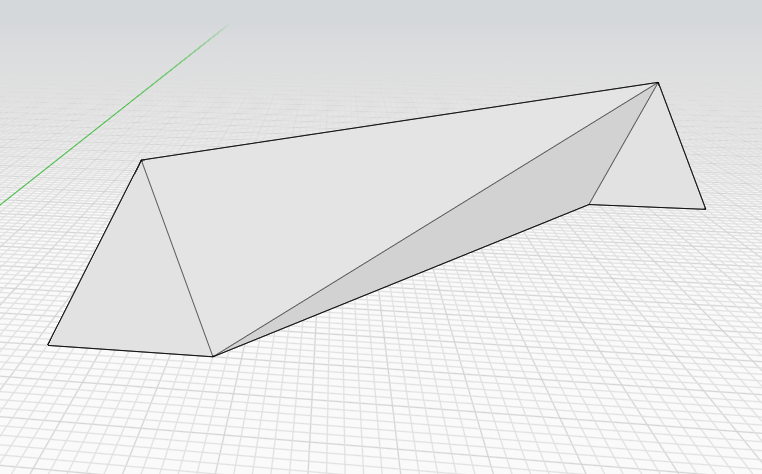
열려 있는 모서리를 닫고, 모서리 경로를 따라 형상을 변경하고, 여러 프로파일 또는 모서리를 연결할 수 있습니다.
## 일련의 면을 닫으려면
1. 작업 막대의 **고급 형상 도구** 메뉴에서 **피복** 도구를 클릭합니다. 
2. 피복할 객체의 모서리를 클릭합니다.
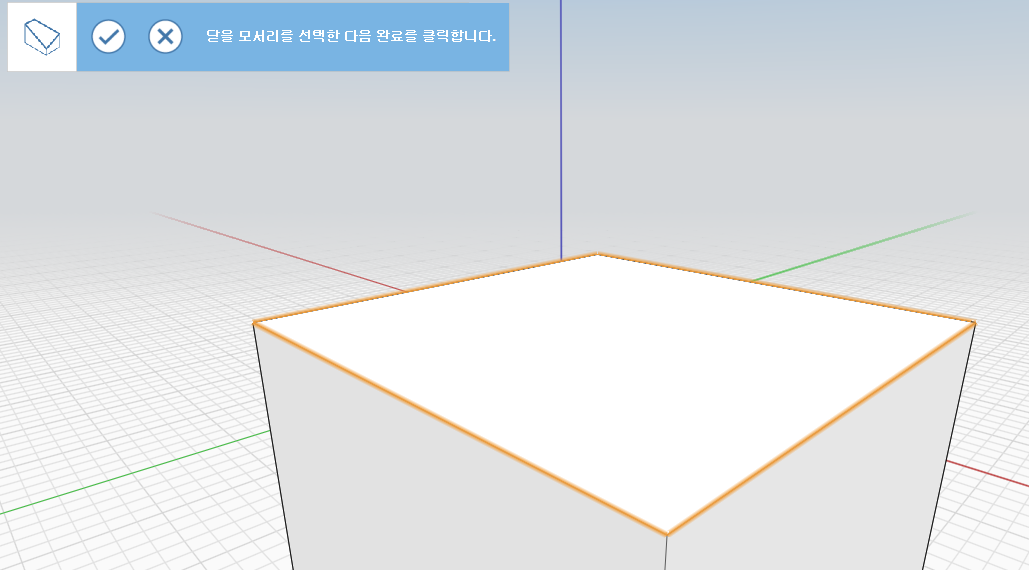 1. **마침**을 클릭합니다.
%20\(1\)%20\(2\).png?alt=media) 
## 경로를 따라 형상을 스윕하려면
1. 선을 사용하여 절단할 객체의 면을 표시합니다. 
2. 스윕 도구 아이콘을 클릭합니다. 
3. 이전에 표시한 면을 선택합니다.
```

```
1. 절단할 모서리를 선택합니다.
1. **마침**을 클릭합니다.
%20\(1\)%20\(2\).png?alt=media) 
## 경로를 따라 형상을 스윕하려면
1. 선을 사용하여 절단할 객체의 면을 표시합니다. 
2. 스윕 도구 아이콘을 클릭합니다. 
3. 이전에 표시한 면을 선택합니다.
```

```
1. 절단할 모서리를 선택합니다.
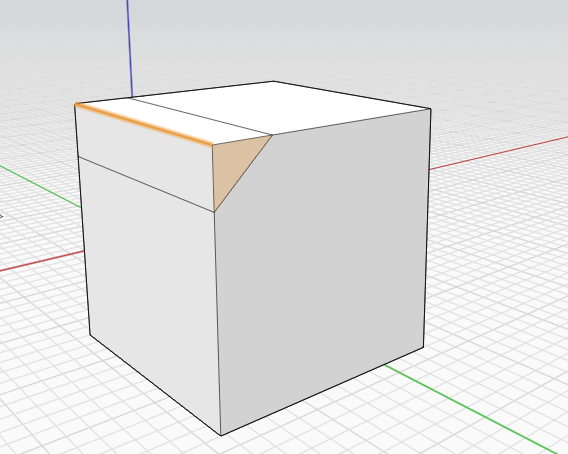 2. **완료** 아이콘을 클릭합니다. 원래 객체가 스윕 경로를 따라 수정됩니다. .png?alt=media)
## 다중 프로파일 또는 모서리를 로프트하려면
1. 작업 막대의 **고급 형상 도구** 메뉴에서 **로프트** 도구를 클릭합니다. 
2. 첫 번째 객체에서 로프트할 면이나 모서리를 선택합니다.
2. **완료** 아이콘을 클릭합니다. 원래 객체가 스윕 경로를 따라 수정됩니다. .png?alt=media)
## 다중 프로파일 또는 모서리를 로프트하려면
1. 작업 막대의 **고급 형상 도구** 메뉴에서 **로프트** 도구를 클릭합니다. 
2. 첫 번째 객체에서 로프트할 면이나 모서리를 선택합니다.
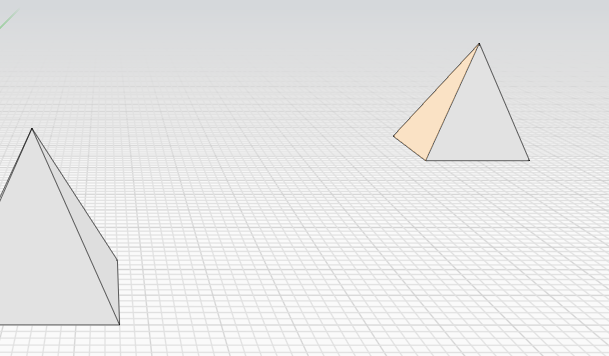 3. 두 번째 객체에서 로프트할 면이나 모서리를 선택합니다. 추가 객체에 대해 이 단계를 반복합니다.
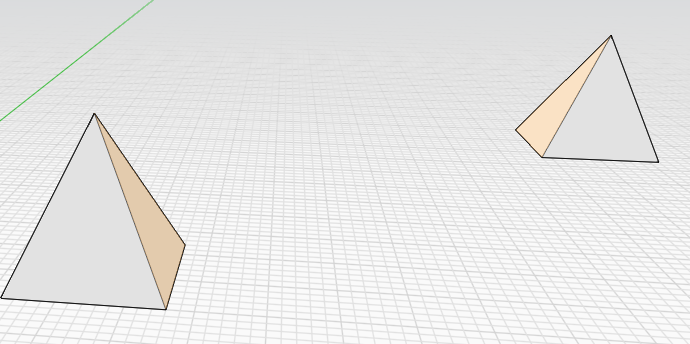 4. **마침** 아이콘을 클릭합니다. %20\(1\)%20\(2\).png?alt=media)
4. **마침** 아이콘을 클릭합니다. %20\(1\)%20\(2\).png?alt=media)