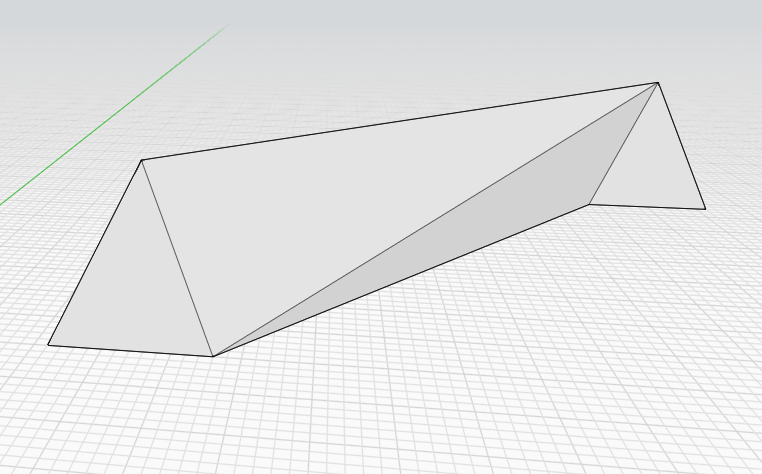
> For the complete documentation index, see [llms.txt](https://windows.help.formit.autodesk.com/llms.txt). Markdown versions of documentation pages are available by appending `.md` to page URLs; this page is available as [Markdown](https://windows.help.formit.autodesk.com/zh-cn/tool-library/cover-sweep-loft.md).
# 覆盖、扫掠、放样
封闭开放边、沿边路径更改几何图形,以及连接多个轮廓或边。
## 闭合一系列面的步骤
1. 从操作栏中的 **“高级几何图形工具”** 菜单,单击 **“覆盖”** 工具。.png?alt=media)
2. 单击要覆盖的对象的边。
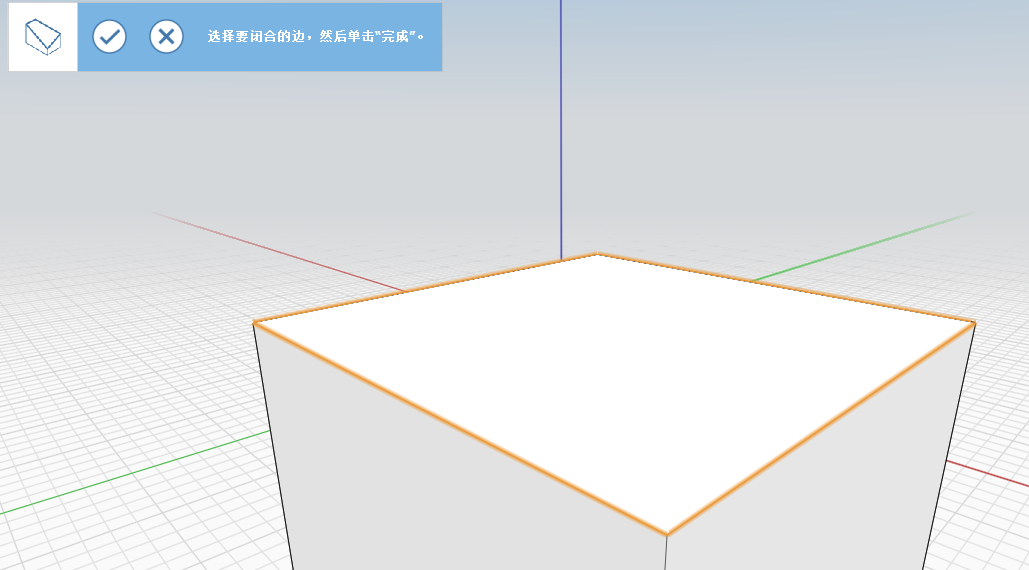 1. 单击 **“完成”**
%20\(1\)%20\(2\).png?alt=media) 
## 沿路径扫掠几何图形的步骤
1. 使用线来标记要切割的对象的面。
2. 单击扫掠工具图标。.png?alt=media)
3. 选择之前标记的面。
```

```
1. 选择要切割的边。
1. 单击 **“完成”**
%20\(1\)%20\(2\).png?alt=media) 
## 沿路径扫掠几何图形的步骤
1. 使用线来标记要切割的对象的面。
2. 单击扫掠工具图标。.png?alt=media)
3. 选择之前标记的面。
```

```
1. 选择要切割的边。
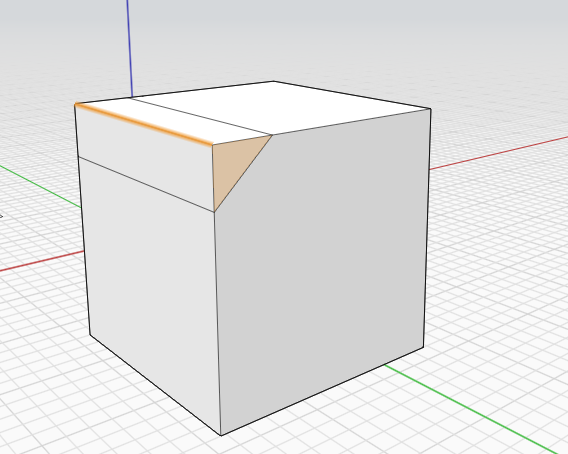 2. 单击 **“完成”** 图标。将沿扫掠路径修改原始对象。%20\(1\)%20\(2\)%20\(1\).png?alt=media)
## 放样多个轮廓或边的步骤
1. 从操作栏中的 **“高级几何图形工具”** 菜单,单击 **“放样”** 工具。.png?alt=media)
2. 选择要在第一个对象上放样的面或边。
2. 单击 **“完成”** 图标。将沿扫掠路径修改原始对象。%20\(1\)%20\(2\)%20\(1\).png?alt=media)
## 放样多个轮廓或边的步骤
1. 从操作栏中的 **“高级几何图形工具”** 菜单,单击 **“放样”** 工具。.png?alt=media)
2. 选择要在第一个对象上放样的面或边。
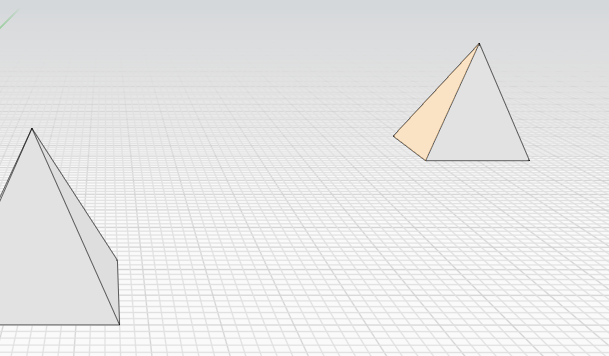 3. 选择要在第二个对象上放样的面或边。对其他对象重复此步骤。
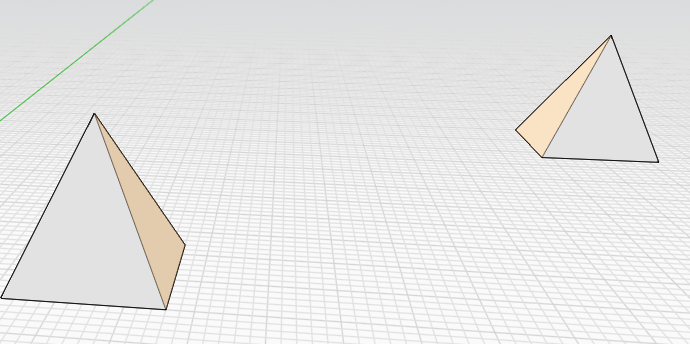 4. 单击 **“完成”** 图标。.png?alt=media)
4. 单击 **“完成”** 图标。.png?alt=media)